


First, be sure that you have joined our queue for service before sending in your stereo to be worked on! We will contact you when we are ready for you to ship in.
Packing Slip
When we’re ready for you to ship, please make sure you include the packing slip in your box, which can be found here. We need you to print out the packing slip and answer the questions, telling us anything we need to know and what you want done on your Sansui. Even though we may have had a long phone conversation, or many emails, we still require all of our customers to fill out a packing slip to make the check-in and restoration process nice and smooth. We may have several units in our shop that look just like yours at any given time, so please, pretty please, do us the kindness of filling out this form.
Custom Boxes
Over the years we’ve worked on hundred of stereos from all over the globe and one thing we’ve learned not to underestimate is the stress that shipping boxes go through. Whether it’s traveling 50 miles or 5,000, accidents happen and it’s incredibly important that the box be able to absorb shocks and falls while keeping the stereo inside safe.
To that end, we’ve come up with a box design that we’re very confident in. We’ve never had any stereos damaged when using these boxes, and highly recommend that they be used when sending your stereos to us. We charge $110 + shipping costs for most stereos, but if you have a G-9000, we use larger boxes, so the cost is $125+ shipping costs. If you’re interested in getting a custom box made and we haven’t already discussed it when we put you in our queue for service, please reach out via email to tech@qrxrestore.com or give us a call on the phone and we can get the ball rolling. Once we receive payment, we’ll ship the empty box to you so you can pack it up and ship your unit back for restoration.
If you’d like to learn more about our custom boxes, click here to check out our process.
Step One: Cutting The Foam
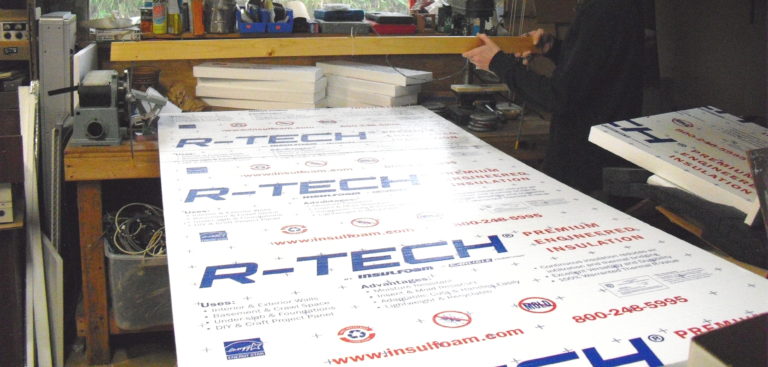
Using a Variac transformer to heat toaster wire in a plywood frame, we cut the foam pieces that will be used on the top, bottom and sides of the inner box.

It takes a lot of cutting to get all of the pieces we need.
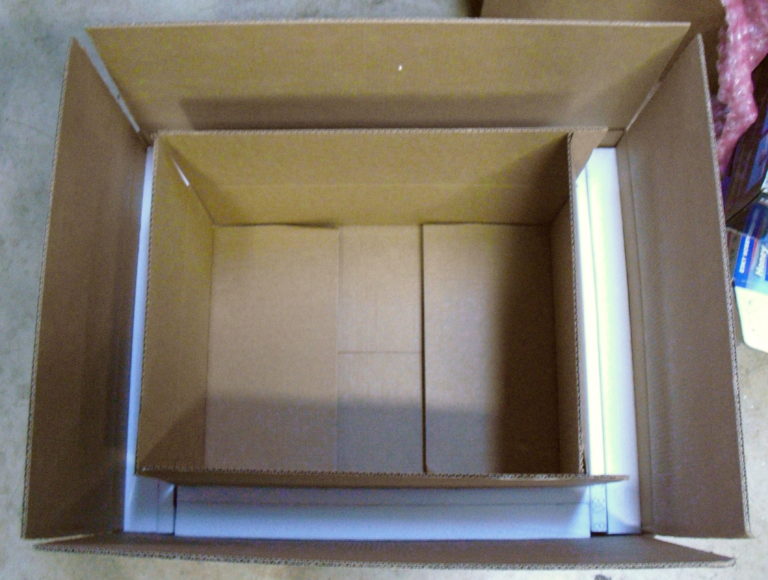
Step Two: Assembling The Outer Box

We use a heavy duty, double walled 30″x24″x12″ box.
Step Three: Inserting the Foam
We then put a 30″x24″x2″ cut piece of foam in the bottom of the outer box.

Then, four 8″x24″x2″ pieces of foam for the sides.

Followed by four 8″x24″x1″ side pieces.
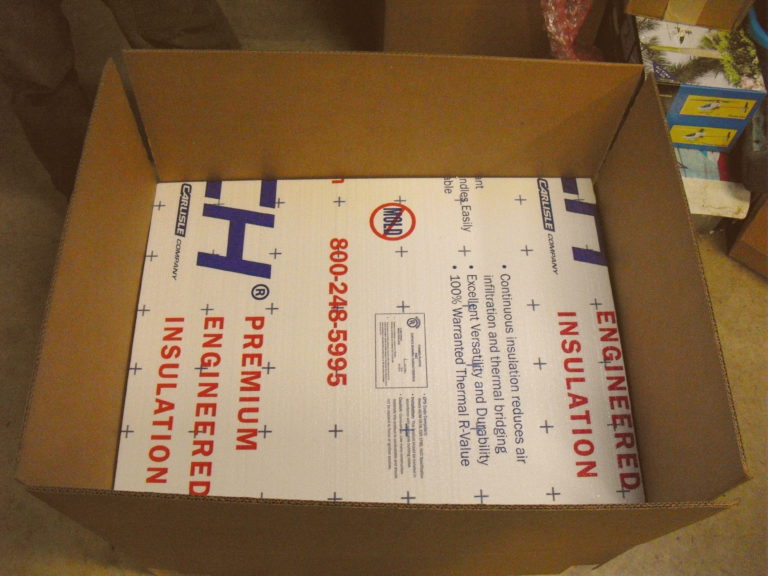
Step Four: Assembling The Inner Box
We use a single wall 24x18x8 box for the inner box.
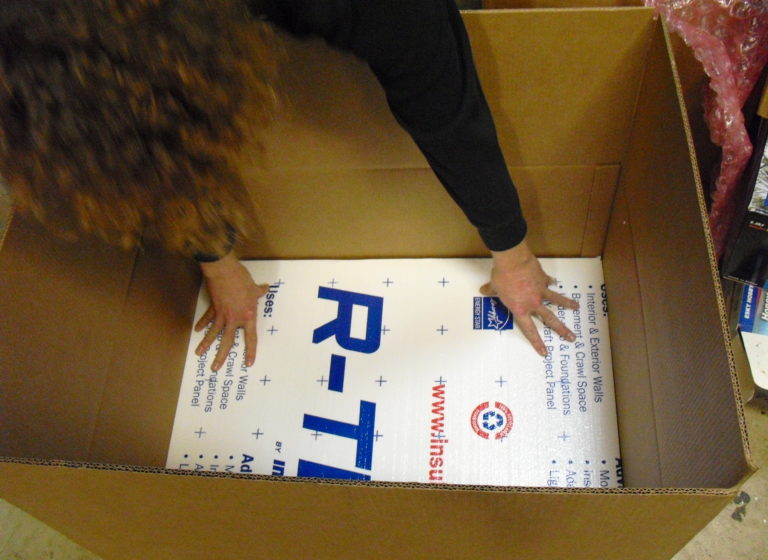
Step Five: Final Foam Pieces

Depending on the model of receiver the box will be used for, we add a bottom piece of foam to the bottom of the inner box. This is measured to fit the feet of the receiver to help hold it in place and further absorb shocks.
Next we put either a receiver or, if we’re sending an empty box out, bubble wrap inside of the inner box and close it. If we’re sending a receiver in the box, we wrap the unit in bubble wrap held on with saran wrap. We don’t use tape as it can do cosmetic damage to the cabinet and face plate. If you must use tape when shipping it to us we recommend you use painters tape. We then insert a final 24″x30″x2″ piece of foam on top of the inner box.
Step Six: Closing and Shipping
Now we close and tape the outer box, add “Fragile” stickers to all sides and it’s ready to be shipped out.
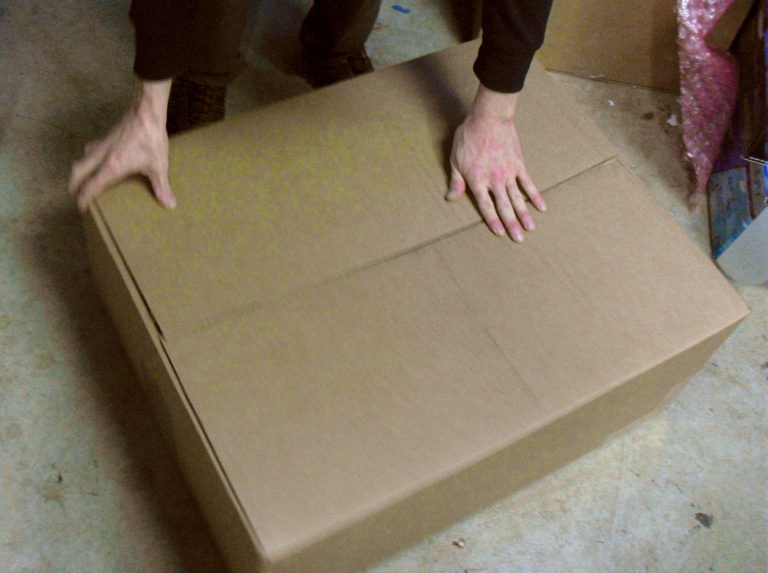
Making Your Own Box
Sansui stereos are heavy, and although they are very ruggedly built, there’s nothing made that UPS/FedEx can’t destroy, or at least severely damage. Even though you buy insurance, they will not pay a claim unless their packing guidelines are followed. Those can be found Here for UPS and Here for FedEx.
If you want to do it yourself, here’s a workable method to create a sufficient shipping box from your home:
- Attach the packing slip and wrap the unit in at least two layers of bubble wrap. Extra layer on front and rear panel.
- Open the top to a larger box. You can get boxes at Uhaul stores, or most home improvement centers. If you can find a box exactly the right size, use it and skip the next two steps.
- Lay the opened box out on a table and place the bubble wrapped Sansui inside in the middle of the box.
- Fold the cardboard tightly around the unit, making a box out of the bigger box that exactly fits your bubblewrapped Sansui. Use box cutters to trim the excess cardboard, and corners, and tape it together using packing tape.
- Now, pack this box in an even larger box that has at least 2” of packing material all around the inner box. Best choice for packing material is foam board, which you can cut from sheet bought at home improvement centers. You may also use various other types of foam (the foam mattress type), wadded up newspapers, or most anything that is light and firm, and will absorb shock and return to its original shape. Least desirable is foam peanuts, which tend to move around and get compressed, giving less and less protection as your Sansui makes its way to us. If it is not feasible to put your Sansui into two boxes, be sure to use some kind of firm shock absorber, like foam board. Your Sansui should not be able to be shaken inside the box, it should be held firmly by foam board or some similar shock absorber.
- Insure your unit. I say this with trepidation, as we have spent over 6 mos. getting reimbursed on a smashed unit that met all the shippers guidelines, and they admitted it was their fault. They had to have dropped it off a truck., but like all insurance companies, they do not want to pay.